Yay my guitar self is finished! I'm so excited with how nice it turned out :-)
Showing posts with label finished thursday. Show all posts
Thursday, February 28, 2013
Guitar Shelf Project!
Friday, February 22, 2013
Finished Coaster Project
I'm a day late, but this week has been a bit wacky! Here is the update on my coaster project :-)
This picture came out a bit dark, but I chose paper with the old big wheel bicycles on them. I think it would have been really neat to do it in several different colors, but I only had it in the green/blue combination.
I cut the paper down into squares that fit the coasters, and used mod podge to adhear the paper. The next day I sprayed them with high gloss finish and let them dry for another day.
They are now home on our coffee table and end tables :-)
Thursday, February 14, 2013
Ta Da a Yoga Bag
After thinking about how to make a yoga mat bag, I thought why not make things easy on myself and and use the leg of the pants. So I cut the pants in half...
I then drew lines to make that leg square, I used another piece to draw a circle for the bottom, then 2 more pieces for the draw string and shoulder strap. I used the length and diameter of a rolled up yoga mat to determine how long and wide the bag needed to be...
I squared everything up, drew lines to sew along, and trim, and then I got to sewing. The pieces I made for the draw string and strap I turned inside out and ironed flat before attaching them to the bag. The pieces went together quite well and I think this little bag came out pretty cool! Check it out
Have you ever made a yoga bag? If so I'd love to hear about it!
~Sara
Thursday, February 7, 2013
From too Big to Perfect
Since I had the sewing machine out I wanted to try this next t-shirt up cycle. This time I want to take a shirt that is too big and make it fit correctly. I got this pink shirt at the thrift store it is so soft and comfy but it was XXL, at first I thought I'd just wear it as is, but I looked pretty silly. I have seen lots of t-shirt upcycles on Pinterst so I thought I'd give this a try. I picked my favorite fitting shirt and traced it onto the pink one.
Here is the out line, the pink shirt was a few inches too big on either side. The sleeves were too big as well and with my shirt laying on top of it it looked as though the top of shoulders needed to be trimmed. I decided to play it safe and sew only the sides then try it on. As it turned out it was better to trim from the bottom of the arm. I actually made the mark as I was wearing it. Then I took the shirt off and sewed the under sides of the arms. Once all of the sewing was done I trimmed the excess material.
The shirt now fits great! And it's still super soft and comfy, now I can wear it and not look goofy!
As a side note, I have found that when doing these up cycles when you pic a shirt to use as a pattern, pic one that is made out of similar fabric. The fabric of thick men's shirts stretch and fit a lot differently then thin and stretchy women's shirts.
T-shirt Upcycle Take 2
This is my second attempt at a t-shirt up cycle, the last one I made I liked, but I like the fit of my favorite tank top more, so this time I used it for the pattern. I started out with this grey t-shirt...
I laid my tank top on the t-shirt and traced around it the front...
Here is the outline...
I then cut the sleeves off, I will sew the sides before I cut along the sides...
Then I turned the t-shirt over and traced the back...
I then carefully cut out the back side only...
I sewed along the sides and trimmed excess material. Hanging up my tank looks like this, it is cut like my favorite tank in a racer back style, but it doesn't have the tie in the back that my last tank top had.
This is the last tank, I really like it but the tie in back makes doing sit-ups or any exercise where you press your back against something uncomfortable for me, which prompted me to create this new design :-) It is more work because it involves sewing where as the original design did not, but 2 lines of stitches isn't too bad.
There you have it my new t-shirt to tank top upcycle :-)
~Sara
Friday, February 1, 2013
Candles!
This weeks project took longer then expected, but even though it's Friday I am still very excited to share this project! I had cut wine bottles last week, but was waiting for my wax and wicks to come in the mail. This week they finally arrived and began my adventure in candle making.
Step one melt the wax
Step 2 pour into wine bottles. I didn't have time to correct the wick position while waiting for the wax to harden so I used some tape to help me out.

Last night when I got home from work the candles looked awesome :-)
I kept the one bottle with the original label, kept its matcher blank, and made a label for the third...
Thursday, January 24, 2013
Finished Thursday: Wine Bottles!
I'm so excited I finally have some finished projects! It took a lot of trial and error, but I finally have a few things I really like.
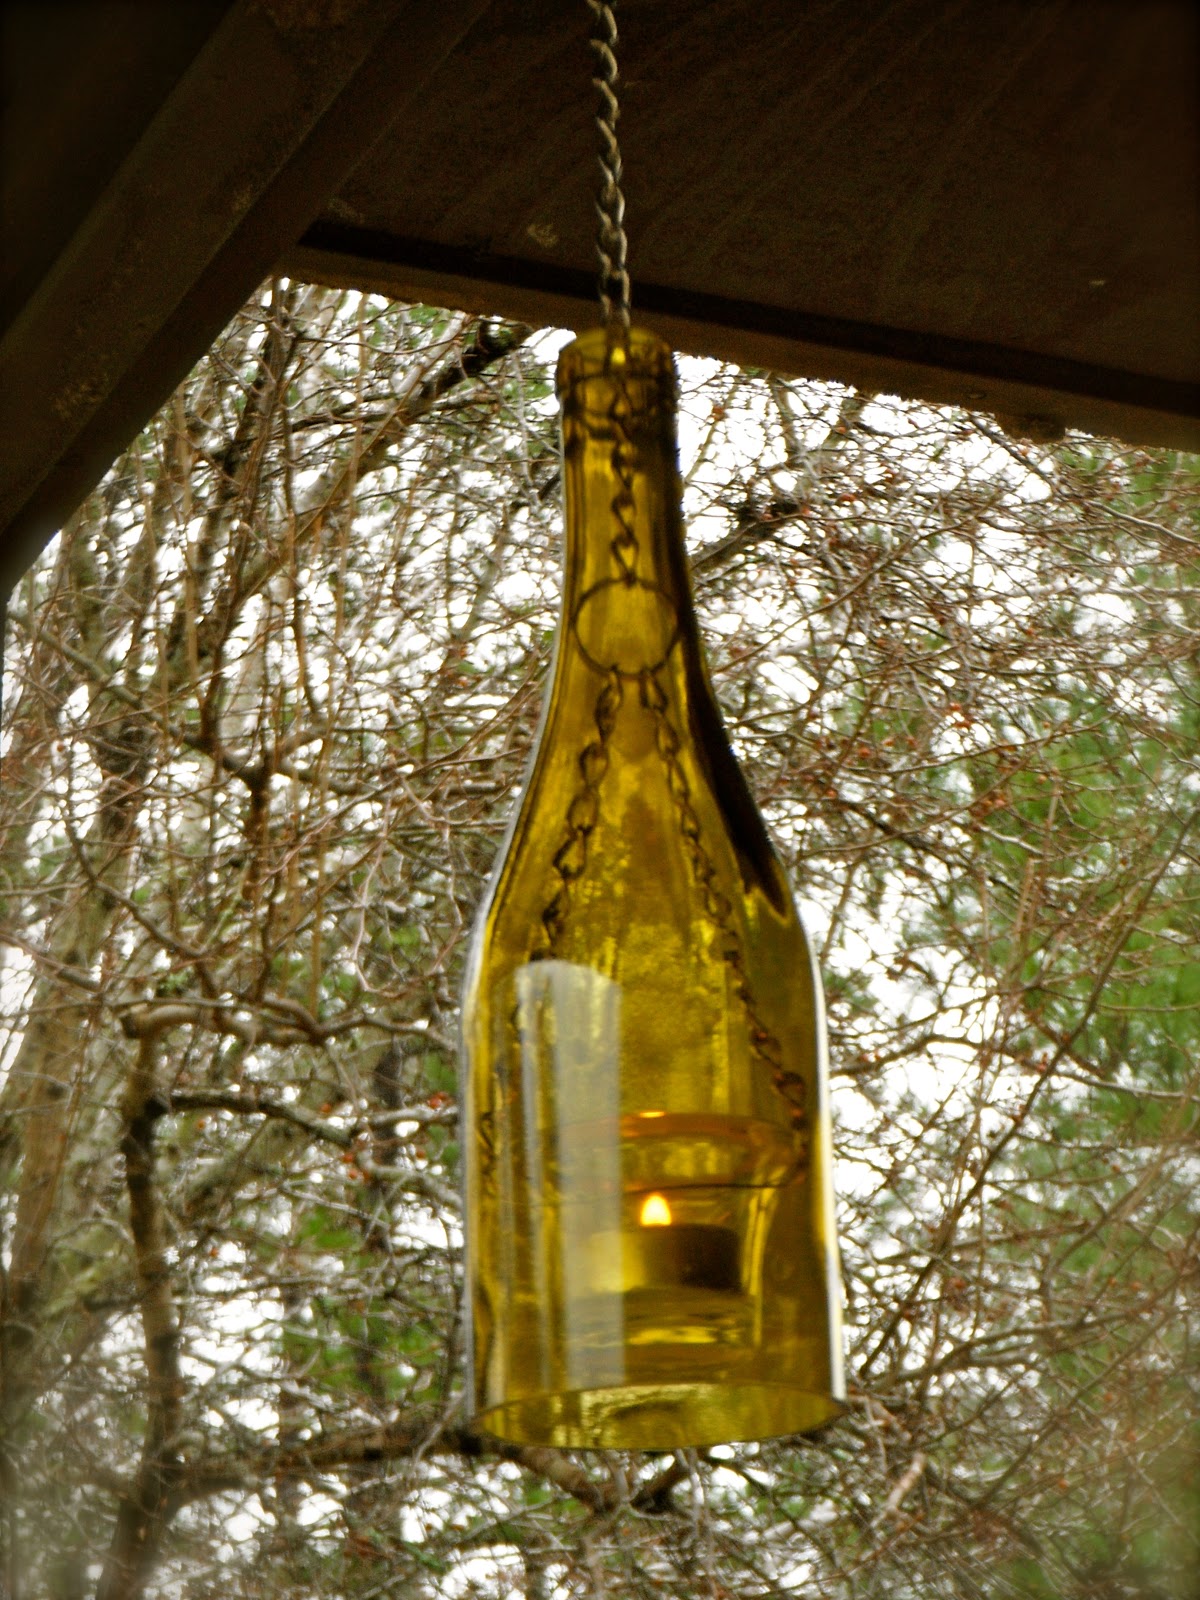
Wine bottle lanterns
I found this idea on pinterst idea credit here.
Candlestick holders!
Now I just need some more bottles!
Thursday, January 17, 2013
Finished Thursday: Body Wash
Well my soap project didn't go as well as I had hoped, it's my fault really I got to cooking away and wasn't paying attention to the directions as well as I should have. The direction called for a gallon of water and just started with that instead of slowly adding it until I got a consistency that I liked. My soap ended up much more watery then I would have liked even after waiting 24 hours and then blending it. Maybe I didn't blend it long enough, but the directions didn't say how long to bend it for. My soap is usable but I am considering blending it again, or even starting another batch but instead of adding water using this mixture for the liquid. That may be too much soap though. This mixture is very soapy and cleans very well. I plan on making another batch my husband out of his favorite and when I do that I will be careful with how much water I add.
This week has been a long week, lots of hours at work, and I have been sick, none the less I have great new projects for next week!
Thursday, January 10, 2013
Finished Project Thursday: Laundry Soap
After doing quite a few loads of laundry this week (it never ends around here) I have discovered that this homemade laundry soap works really well, not only that but I think it makes my clothes smell better then the store bought stuff! I used my husbands favorite bar soap hoping to make the transition as smooth as possible. The best part, he didn't even notice :-)
The next step is to make it a more natural by using an organic bar of soap, but that will a ways down the road since this made a pretty big batch. Right now I am happy that it worked!
Next week I am going to tackle body wash!
The next step is to make it a more natural by using an organic bar of soap, but that will a ways down the road since this made a pretty big batch. Right now I am happy that it worked!
Next week I am going to tackle body wash!
Thursday, January 3, 2013
Finished Project Thursday!
This former cookie tin is painted and ready to find a new home!
Teal and black measuring 7 inches in diameter x 2 inches deep
These square jar have been frosted with 2 clear strips on each jar and embellished with green raffia, the top picture is taken with a flash the bottom picture is with no flash.
Both jar are 4 inches wide, the small one is 5.5 inches tall and the larger one is 7.5 inches tallThursday, December 27, 2012
Vases and Jars Spring Upcycle Project
I tried out some of the "hot colors" for spring in this upcycle project
Upcycled jars
Upcycled vases
Thursday, December 20, 2012
Coffee Table Compete!
Hi everyone, it's been a long week but we did it! The coffee table is complete and ready to be posted on Thursday!
This first picture is with the flash on
This one is in natural light
I'm pretty excited with how this turn out, if I lived in a bigger I would keep it :-)
Thursday, December 13, 2012
Thursday's Finished Project: Up-Cycled Tote Bag I
This tote bag was originally a pair of pants. They were a nice thrift find but too small for G so I decided to re-purpose them into a bag! I didn't have a pattern just an idea that I wanted it to be tote shaped. I decided to make it purse sized not book bag so that the pockets could be the focal point.
In the end the bag ended up being 12 inches tall, 8 inches wide, and 3 inches deep.
I am really proud of how this bag turned out :-)
Subscribe to:
Posts (Atom)